
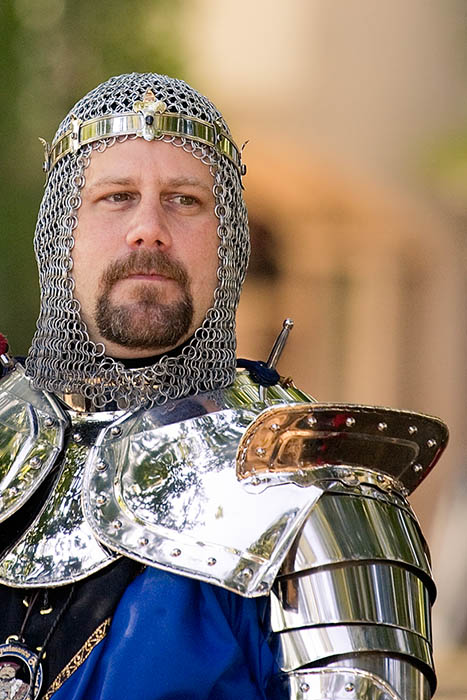
2.) North Italian
c. 1570
This is a closed loop guard.
|
This elbow piece is in the Tower of London.
Note: Update we changed from this cop type to a more decore' type. (26 Aug. 2006) |
 |
-7 Aug. 2006-
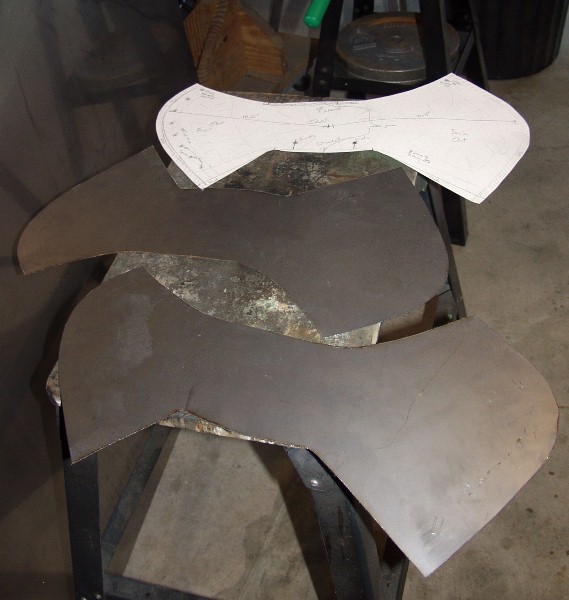
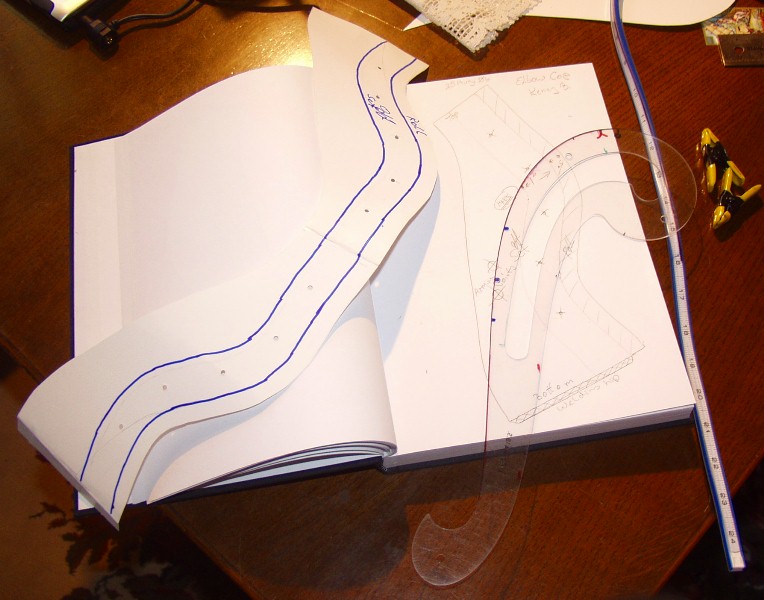
This is the sized pattern for Kenny's pauldron.
This is just the base piece of the three part shoulder protection. |
 |
-8 Aug. 2006-
The pattern on the steel. |
 |
Both left and right are cut. |
 |
-10 Aug. 2006-
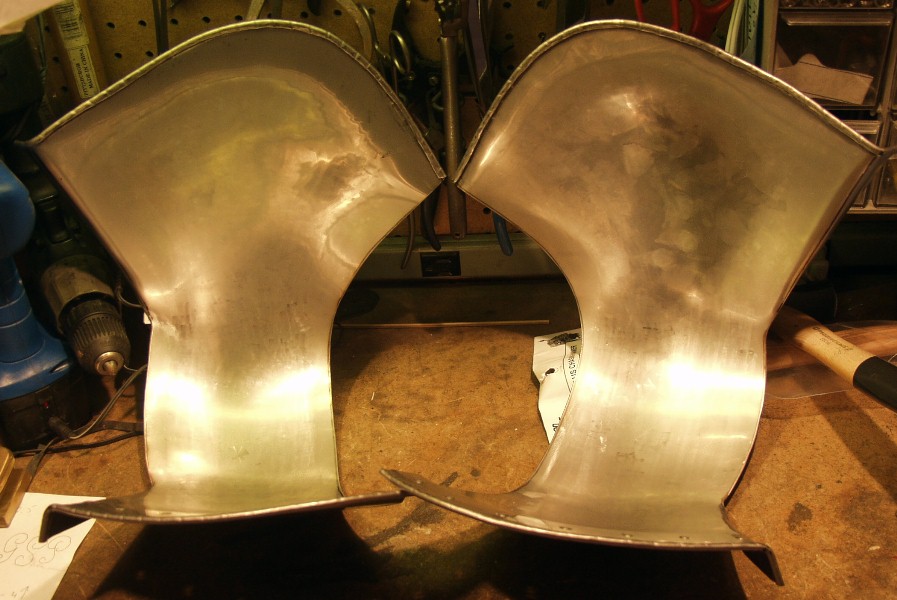
The pattern is taken shape after the rolling and roping. |
 |
The inside to view the roll. |
 |
-11 Aug. 2006-
The main lames are shaped, holes are drilled for the rivets. |
 |
A inside to view. There is a lot of contour on these pieces. |
 |
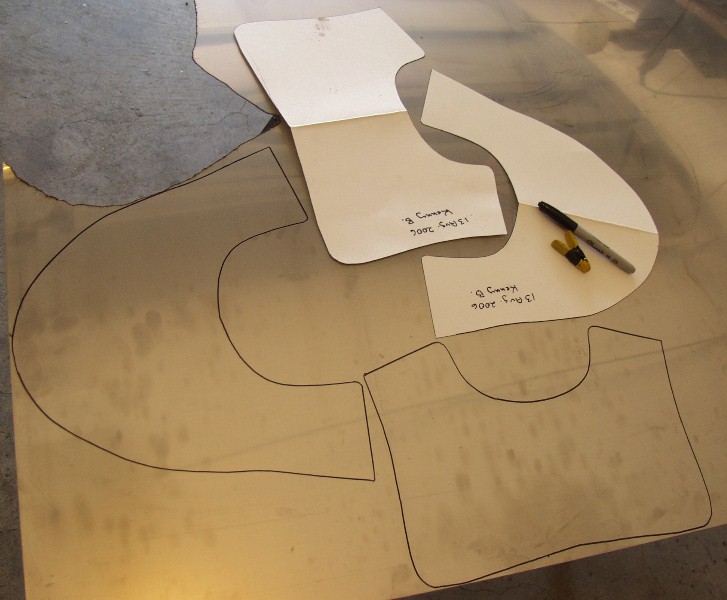
-13 Aug. 2006-
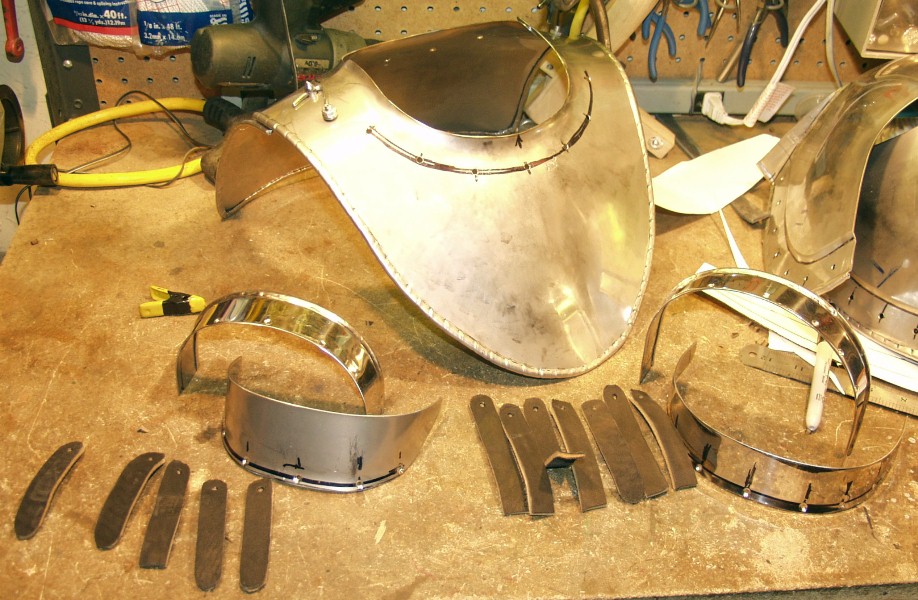
The gorget pattern on the steel in Kenny's size. |
 |
The main pieces cut out. |
 |
The roping and semi rolled. |
 |
All the way roped. |
 |
The locking pin for the gorget in the lath. |
 |
The pin after cleaning. |
 |
The front of the gorget, also see the hook with the pin. |
 |
The back of the gorget with the contours. |
 |
-14 Aug. 2006-
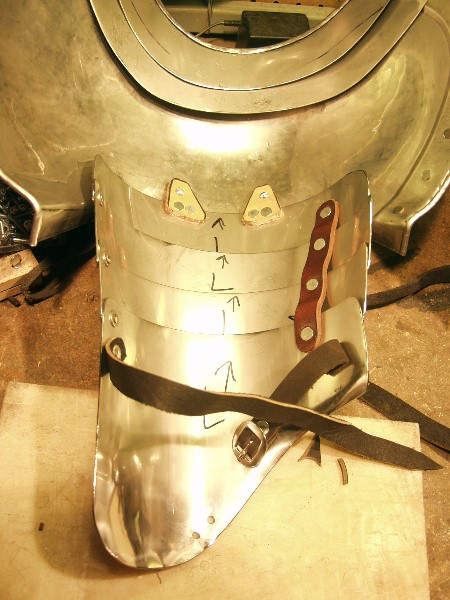
The parts which makeup the neck for the gorget. |
 |
This will give a good idea what it will look like once it is done. |
 |
-15 Aug. 2006-
The neck part for the gorget. |
 |
The inside. |
 |
The front of the gorget. |
 |
The side, all I need to do is clean and rivet the neck. |
 |
-16 Aug. 2006-
The front of the gorget. |
 |
The back. |
 |
-21 Aug. 2006-
The pauldrons with the lames. |
 |
All the lames are made, now they need to be shaped and the one lame rolled. |
 |
-22 Aug. 2006-
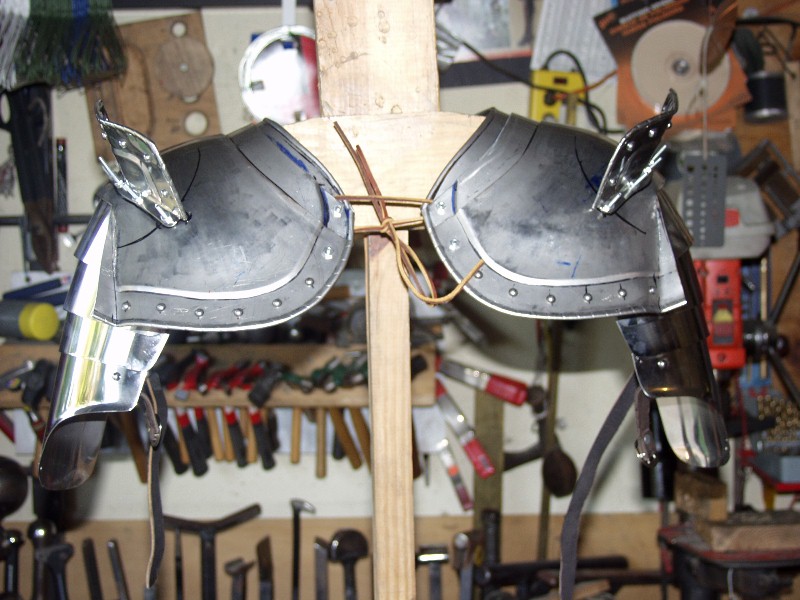
The pauldrons with the parts for the rear vambrace. |
 |
This is the way it will attach to the pauldron. |
 |
-23 Aug. 2006-
The inside of the pauldrons. |
 |
Close-up. |
 |
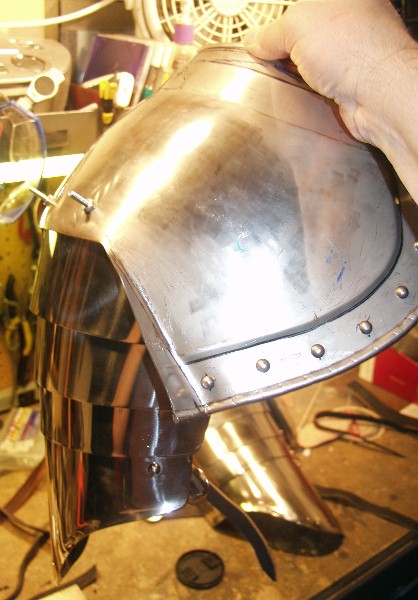
The pauldrons with arms. |
 |
Just another look. |
 |
The pattern for the elboe cop. It taken me about two hours to design this piece. |
 |
This is only one half of the cop, two will make a whole cop.
The two will be TIG welded as one. This type of cop is hard to find.
|
 |
-25 Aug. 2006-
The elbow pattern on the steel. |
 |
The pieces after they are cut out. |
| The pauldrons with the flange guards. |
 |
 |
 |
-26 Aug. 2006-
The elbow cops before the TIG welding. |
 |
 |
 |
| The elbow cop rolling the edge. |
 |
That is a view looking at the channel before the wire is placed in it. |
. FG |
 |
 |
 |
 |
 |
-27 Aug. 2006-
Getting ready to TIG weld. |
 |
The piece after it is done. |
 |
 |
 |
The look of the elbow cop as a whole. |
 |
-29 Aug. 2006-
This is the second cop. |
The hardest part of making this type of cop is the aligning of the two half's. They have to be with in about 1/32 of an inch together before TIGing. |
I forget to take pictures from the first one after the TIG welding. |
 |
-30 Aug. 2006-
Both cops are cleaned. |
 |
I will make the new flange guards better looking by TIG welding the support. |
 |
-31 Aug. 2006-
The first flange guard done. |
 |
A close up of the guard, it does have a better look. |
 |
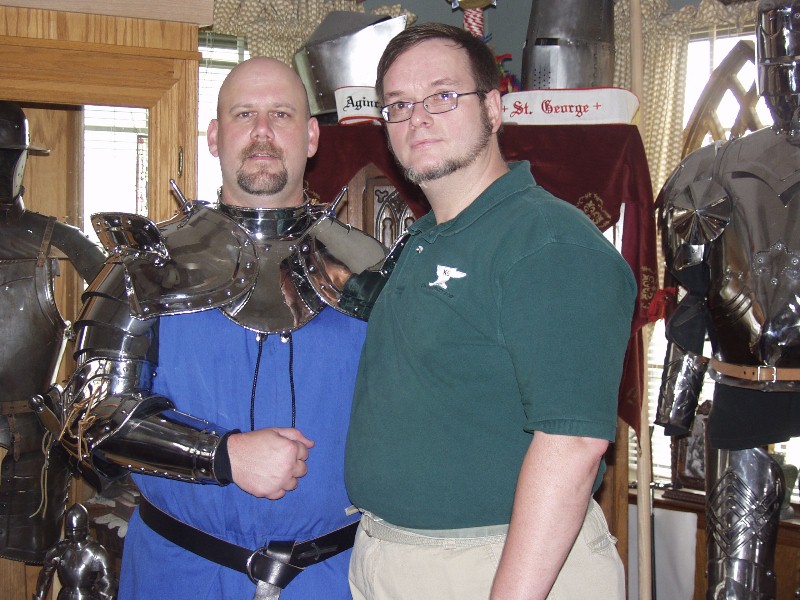
-3 Sep. 2006-
Kenny, and his friend David, drove in from Louisiana for fitting and pickup. |
 |
This was the tie point the way I planned to do it originally. But the knot became a pressure point. |
 |
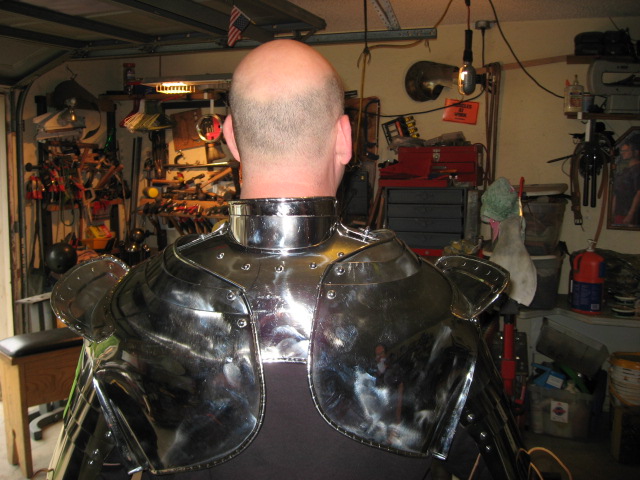
Front look. |
 |
Back view. |
 |
The vambrace inside the new elbow cop. |
 |
The old pattern is now to long with the new cop. |
 |
Side view. |
 |
Kenny, making copys of the armor patterns, Kenny and David also make armor themselves.
Thank you David for taken these pictures. |
 |
-5 Sep. 2006-
The Pins for the Pauldrons. |
 |
They are about 2.25" in size. |
 |
View from above. Keep in mind they will be a 1/4" shorter once the are mounted. |
 |
Side view. |
 |
The vambrace. |
. |
. |
 |
-6 Sep. 2006-
View from the front. |
 |
Side view. |
 |
Close up of the pins / tie point. |
 |
-9 Sept. 2006-
Kenny picking up his Armor.
The End |


 Faire Pictures


